


I’ve been using the Google Pixel 11 for over a month now, and like the other times I've set up a new Pixel, I immediately turn on a few features. They’re usually buried somewhere, disabled by default, and yet somehow end up being some of the most useful features I use every day.
But there’s also another side to it. Google also enables quite a few features by default. And naturally, you’d assume that if something is already switched on out of the box, it’s probably there for a good reason.
However, I’ve realized that isn’t always the case. In fact, some of these features have been more annoying than useful. So here are three features I’ve switched off on my Pixel 11, things you might want to disable on your Pixel, too.
Off should actually mean off, right?
But your Pixel is still snooping around


 Credit: Shimul Sood / MakeUseOf
 Credit: Shimul Sood / MakeUseOf
 Credit: Shimul Sood / MakeUseOf
 Credit: Shimul Sood / MakeUseOf
 Credit: Shimul Sood / MakeUseOf

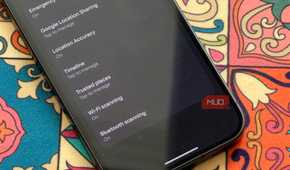
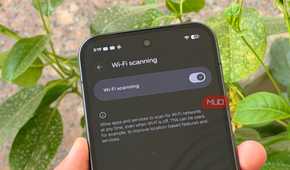
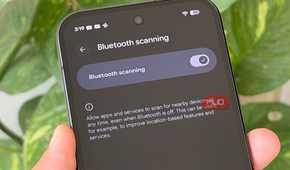
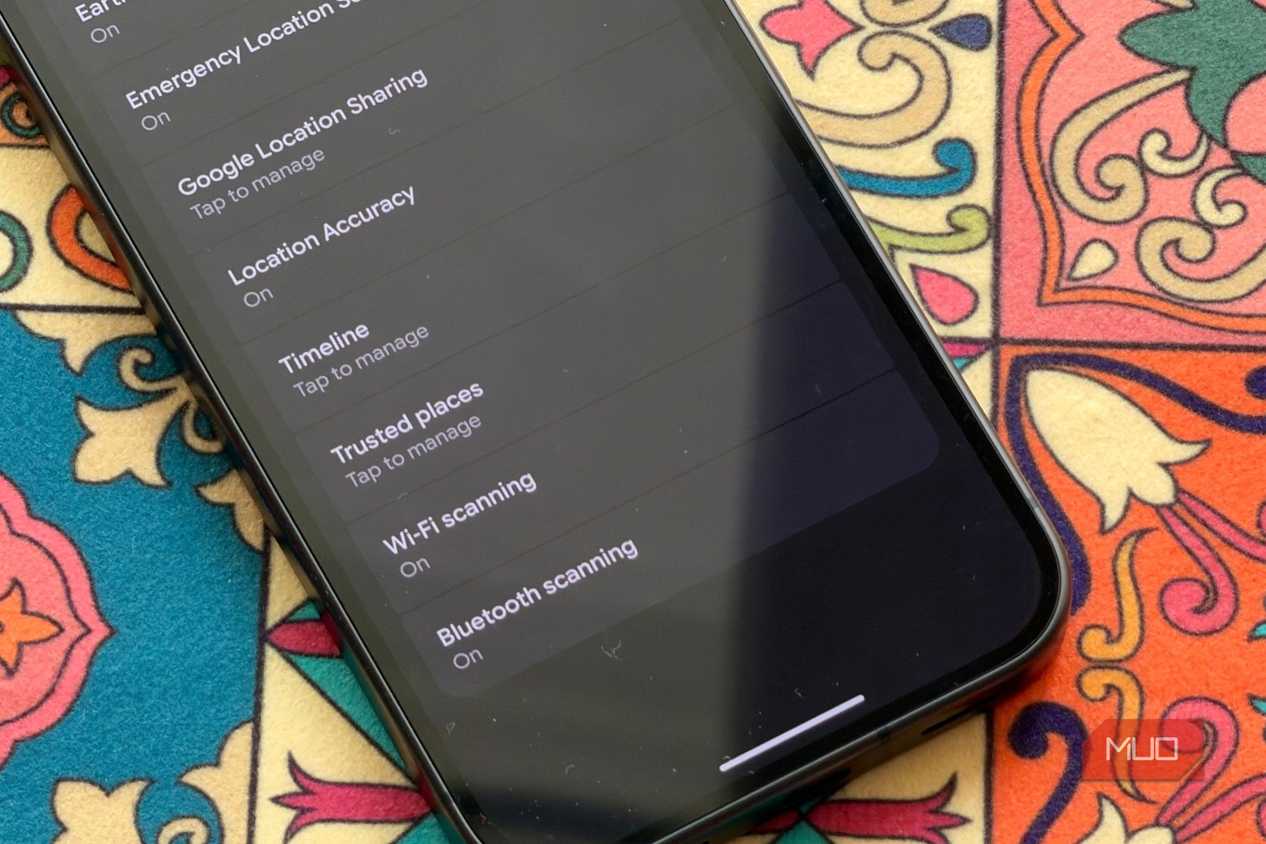
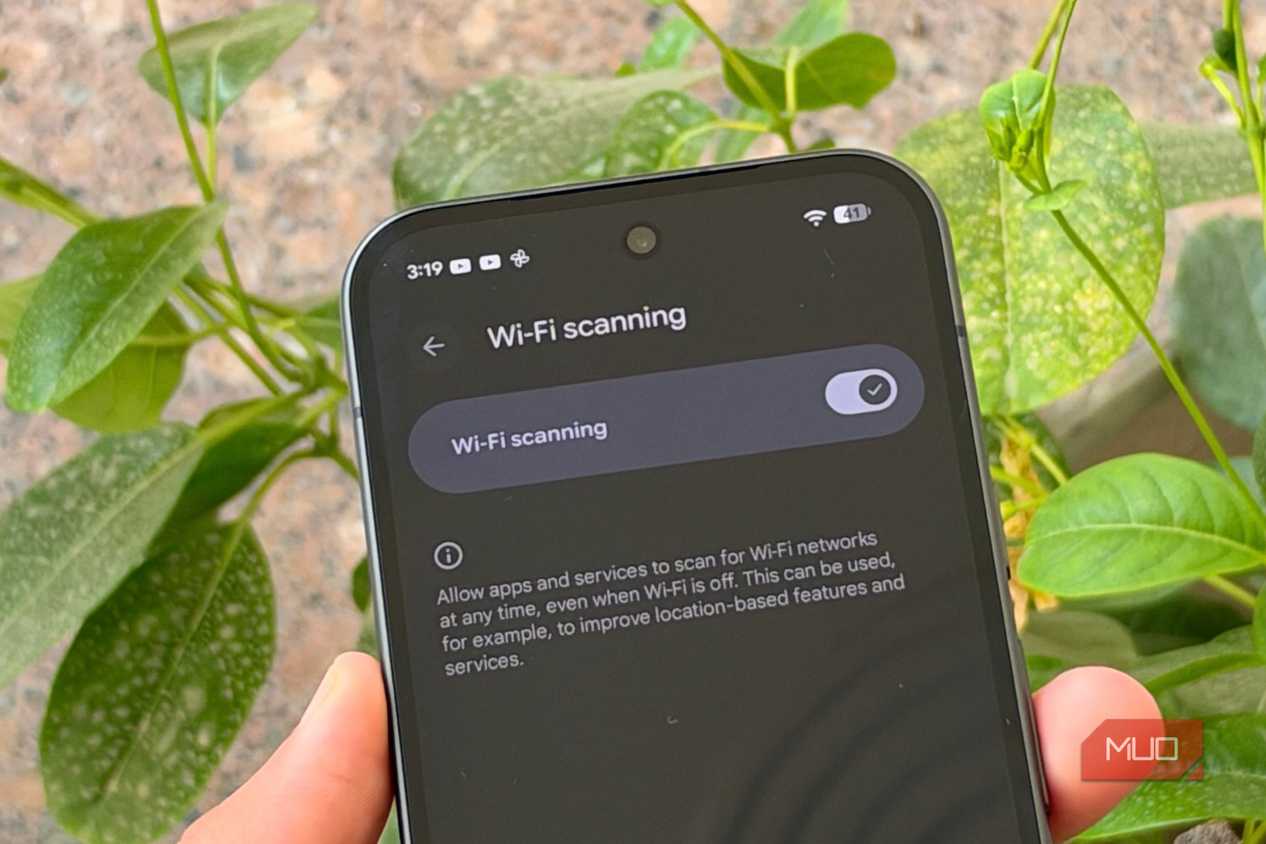
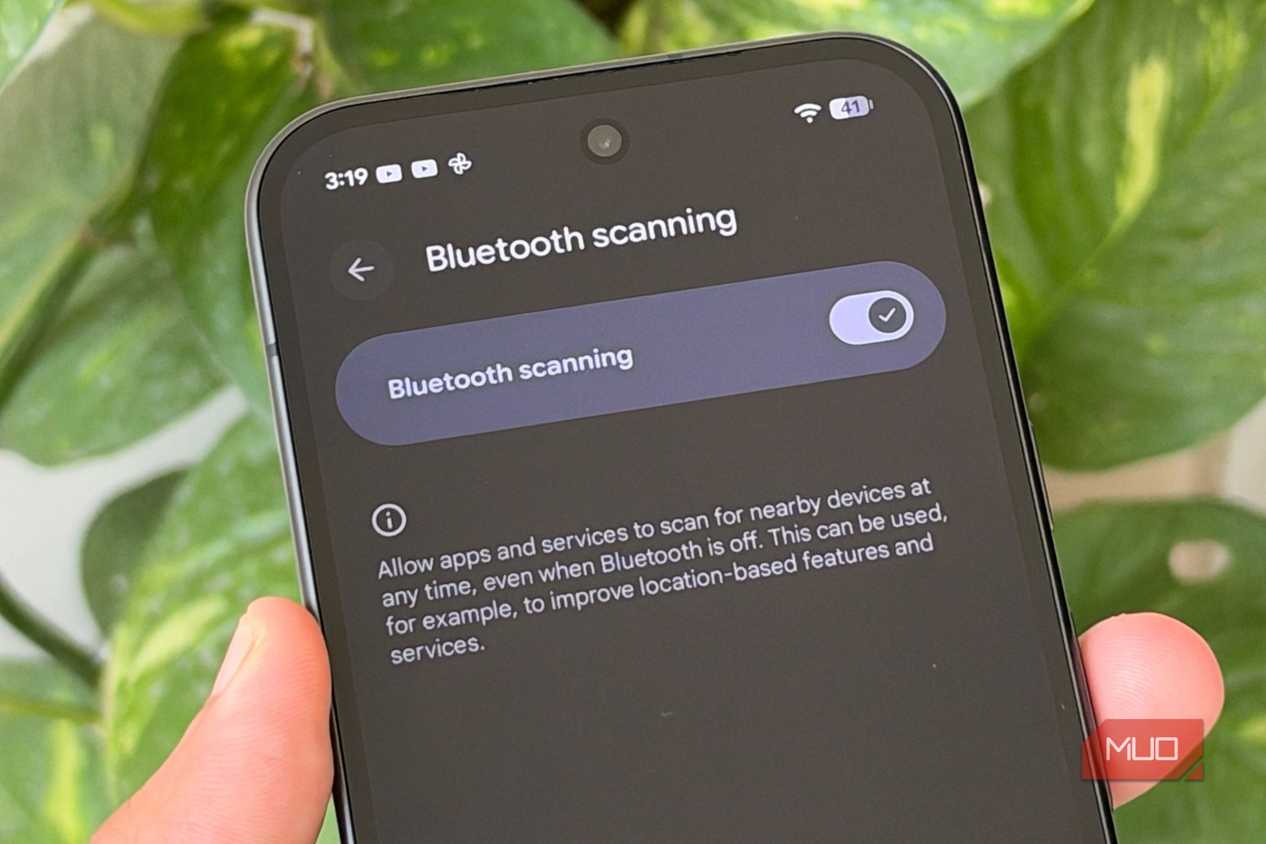
The first things I switched off on my Pixel 11 were Wi-Fi scanning and Bluetooth scanning. Both are enabled by default, and they keep on scanning for nearby Wi-Fi networks and Bluetooth devices even when you’ve turned Wi-Fi or Bluetooth off from the Quick Settings panel. Google mainly uses this information to improve location accuracy and other location-based features.
Personally, though, I don’t really need my phone constantly looking for networks and devices in the background. There’s a potential battery benefit to switching these off, and I’d rather limit unnecessary background scanning for privacy reasons, too. The trade-off is that location-based features may occasionally be a little less accurate, but in my day-to-day use, I haven't had a major issue.
And whenever I actually need Wi-Fi or Bluetooth, I can turn them on myself. It takes a couple of taps, so I’d rather have that control than leave my phone scanning in the background all the time. If you feel the same way, turning both settings off is pretty straightforward:
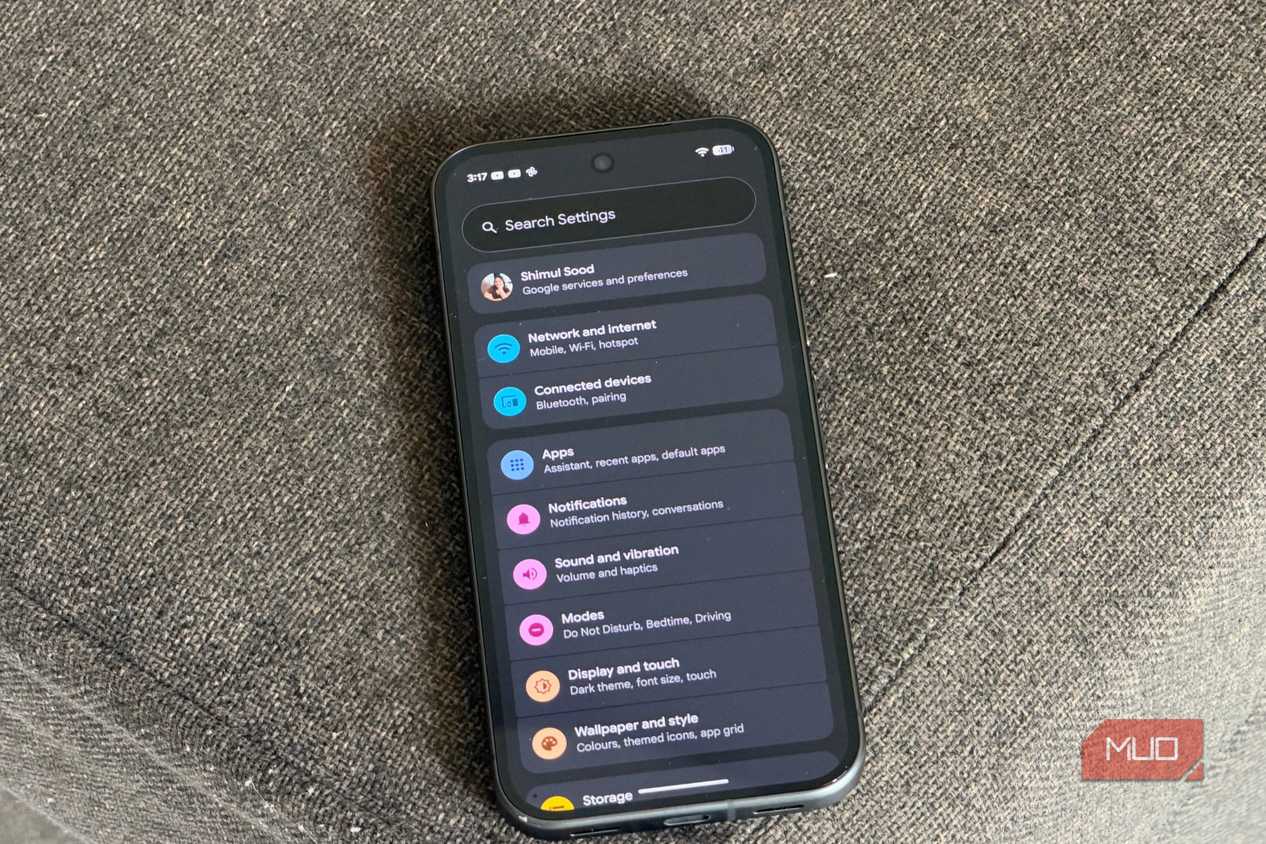
- Open the Settings app on your Pixel.
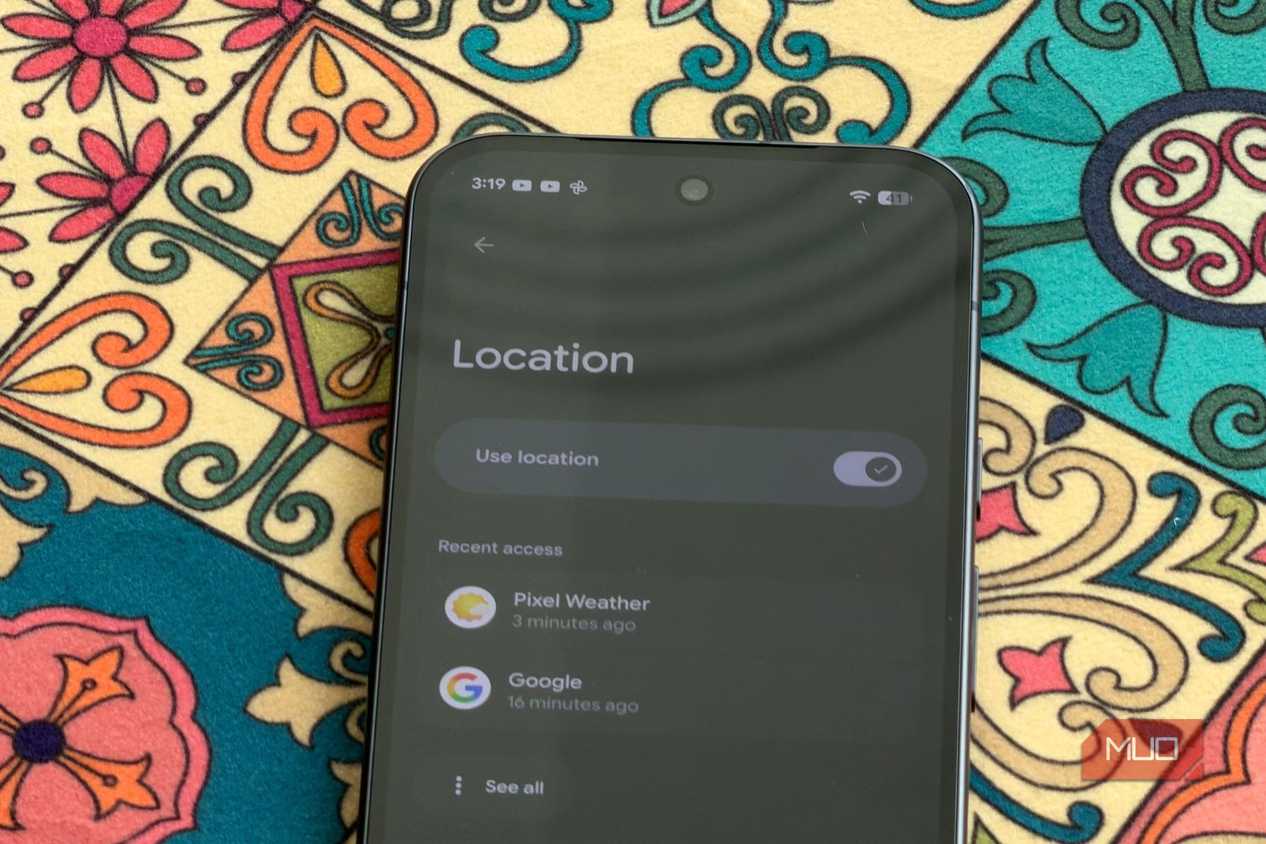
- Scroll down and tap Location.
- Head into Location Services.
- You’ll find Wi-Fi scanning and Bluetooth scanning listed there. Open each one and switch it off.
And to clear up something I initially wondered about: switching these settings off doesn’t disable Wi-Fi or Bluetooth. Your home Wi-Fi will still work normally, as will your Bluetooth earbuds, headphones, smartwatch, car audio system, and other devices you’ve connected to your Pixel.

You’re just stopping your Pixel from continuously scanning for nearby Wi-Fi networks and Bluetooth devices when those radios are otherwise turned off.
Sorry, Gemini, my Photo Library is personal
Some things are better left between me and my phone
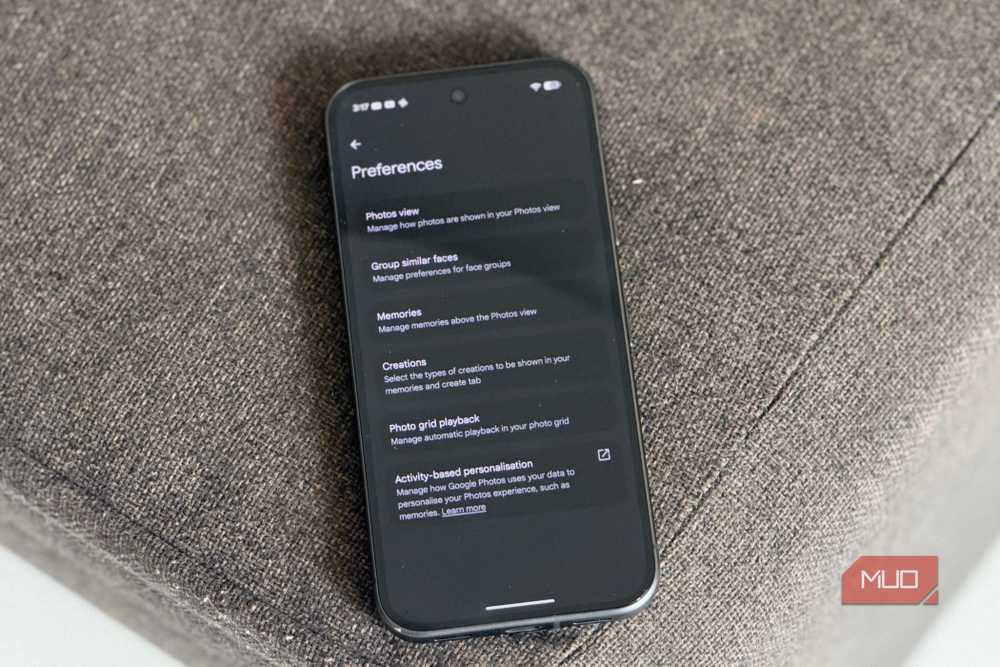
Google is going all in on Gemini. It’s seemingly everywhere now, and while I’m perfectly happy to use it when I actually need it, Google Photos is one place where I’d rather keep AI at arm’s length.
My photo library is incredibly personal — it has years of photos, screenshots, memories, and all sorts of random things I’ve saved along the way. So, even if Gemini can make searching through that enormous library easier, I’m personally not comfortable giving it a bigger role there.
Thankfully, Google gives you the choice. Turning off Gemini in Photos is actually one of the first things I do whenever I set up a new phone, and naturally, I did the same on my Pixel 11. If you’d rather keep Gemini out of your Photos app too, here’s how:
- Open the Google Photos app on your Pixel.
- Tap your profile picture in the top-right corner.
- Head to Photos settings.
- Tap Preferences, then select Gemini features in Photos.
- Turn off the toggle next to Use Gemini in Photos.
And that’s it. Look, I won’t judge you if you decide to leave it on — features like this can be practical. But for me, AI is helpful in plenty of places; my personal photo library just doesn’t need to be one of them.
One year later, my Pixel still can't read the room
Too bright, too dim, and too many trips to the slider

I used the Pixel 10 Pro for about a year before switching to the Pixel 11, and I brought one setting over from my old phone almost immediately: Adaptive Brightness stays off. I actually kept it enabled for most of my time with the Pixel 10 Pro because, in theory, it’s exactly the feature that should be useful.
Your Pixel learns how you like your screen brightness and automatically adjusts it depending on the surrounding lighting. The problem is, it never quite worked the way I wanted.
Often, the display felt too dim, and I’d have to reach for the brightness slider anyway. Other times, it would be brighter than I needed. Eventually, I realized that if I’m constantly correcting something that’s supposed to save me trouble, I might as well take control.
So, when I switched to the Pixel 11, I didn’t give Adaptive Brightness much of a second chance. I turned it off and went back to adjusting the brightness myself. Of course, if Adaptive Brightness works perfectly for you, there’s no reason to switch it off. But if you also find yourself constantly fighting with the brightness slider, here’s how to disable it:
- Open Settings on your Pixel.
- Head to Display & touch.
- Tap Adaptive brightness under the Brightness section.
- Switch it off.
And that’s really all there is to it. You’ll have to adjust the brightness manually from here on.

Google Pixel 11
- Brand
- SoC
- Google Tensor G6
- Display
- 6.3-inch Actua display
- RAM
- 12GB
The Google Pixel 11 is a stunning phone with great battery life, lots of built-in AI features, great cameras, and safety features you should turn on right away.
The best setup isn't always the one Google picked for you
After more than a month with the Pixel 11, I’ve realized that getting the best experience isn’t always about finding new features to turn on. Sometimes, it’s about knowing what to switch off. None of these settings are inherently bad, and you might find Adaptive Brightness useful or love having Gemini inside Google Photos.
But that’s also the nice thing about Android: you don’t have to use your phone exactly the way it comes out of the box. For me, turning these three features off gives me a little more control over what my Pixel does in the background, and it makes the phone feel more like mine.