


I don’t have a great history with mail servers. At sixteen, I accidentally created an open relay while trying to self-host sendmail and Postfix, and got the family’s IP address blacklisted. I haven’t had much luck with them later in life either. If it weren’t for dealing with major mail providers distrusting a residential IP, it would end up on spam lists. In my mind, mail servers just ended up being one of the things that shouldn’t be self-hosted.
For some silly reason, I tried my hand at self-hosting a mail server again. I needed a mail server to send alerts for one of my web applications, from a domain I owned and infrastructure I controlled. I decided to do it properly this time, using a VPS, with the correct DNS, and a modern, lightweight mail server.
Unfortunately, as you’re about to read, the project didn't have a happy ending, and I should have just heeded others' advice.
I picked a modern server, which made the setup even harder
Trying to do it right ended up costing me hours


I needed a mail server for a small and simple reason. My ham radio project, RTL-GPS, already has a domain and downloads, but I liked the idea of sending simple alerts to users when I made changes and updated the app. So, I needed just a few things:
- An [email protected] email address I could send and receive emails from.
- For emails not to go to spam.
- An email server to integrate with my own code.
- To use my existing domain hosted on Cloudflare.
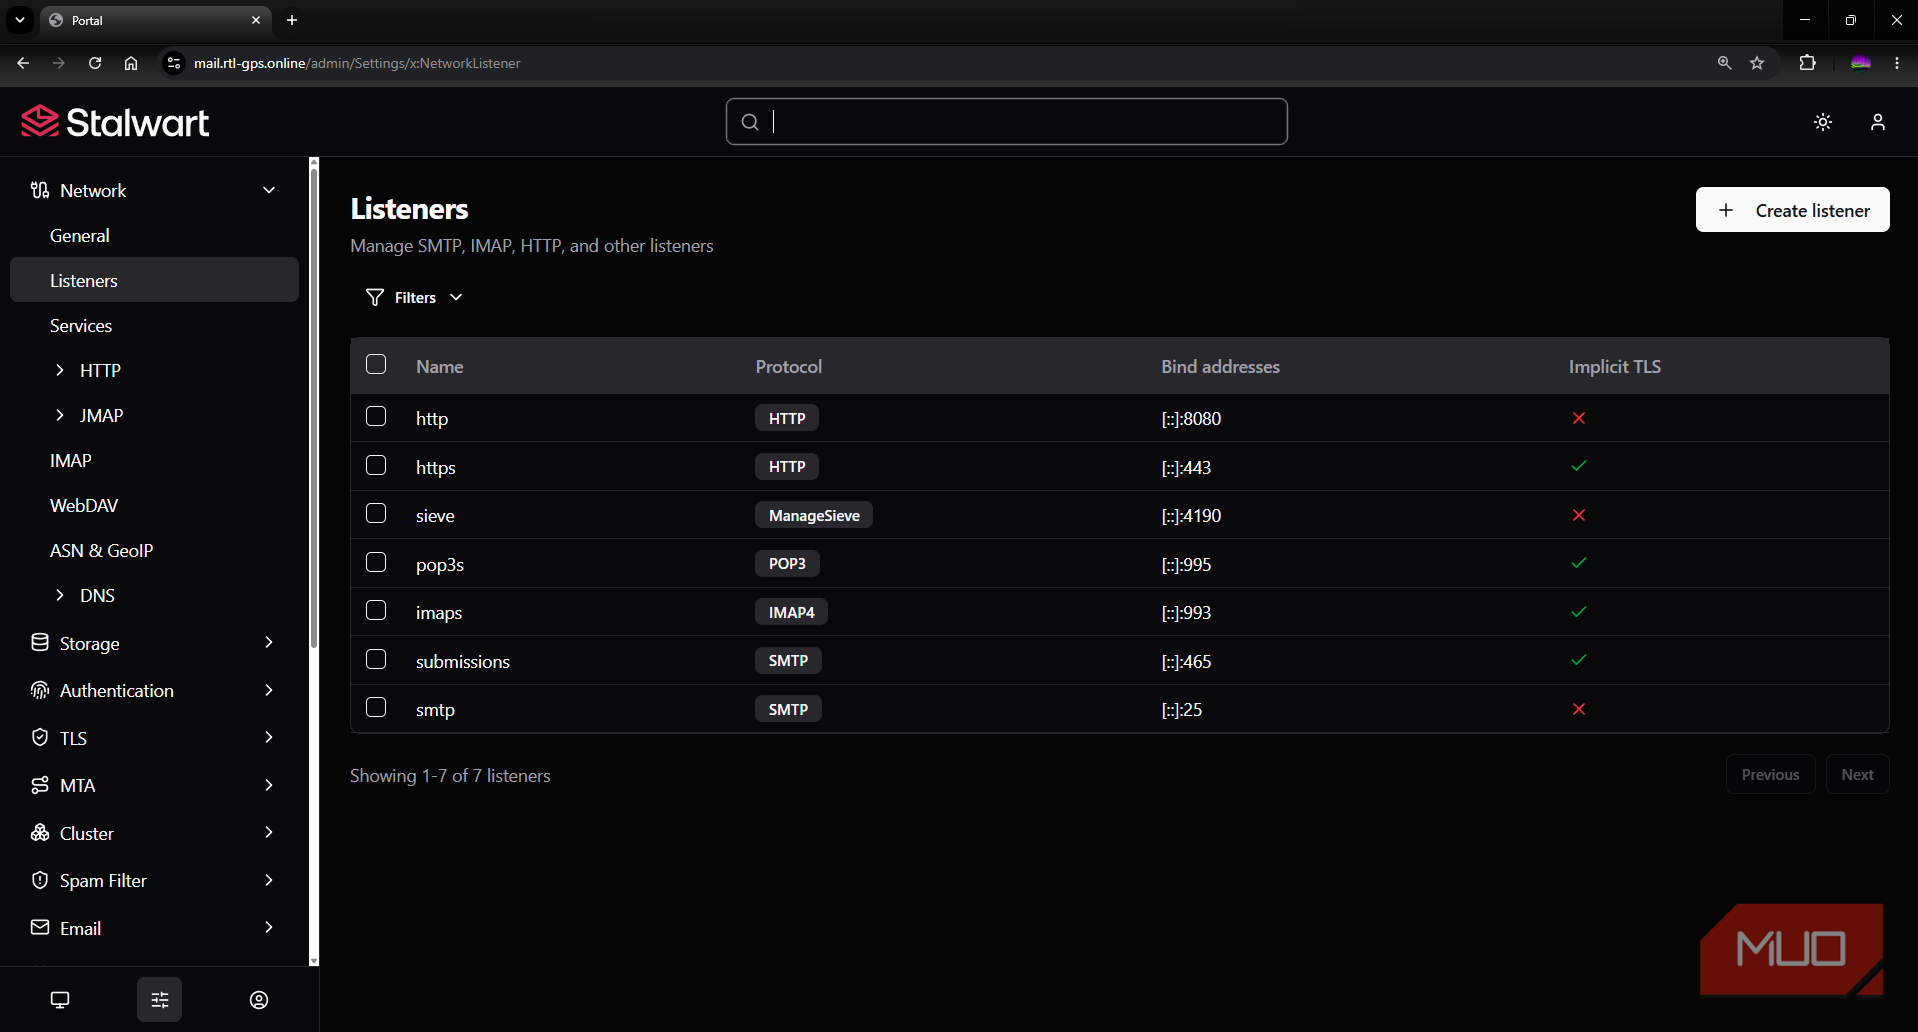
I chose the Stalwart mail and collaboration server because open-source alternatives like Mailcow, which offered the same features, required a lot of compute (like 6GB of SWAP). Stalwart is lightweight and modern enough to support TLS certificates and DKIM signing out of the box.
The basic installation was quite straightforward. I built an Ubuntu server, performed the usual Linux server hardening first, opened up the mail ports in the UFW firewall, and bound the recovery admin port locally:
sudo docker run -d --name stalwart -p 25:25 -p 465:465 -p 993:993 -p 127.0.0.1:8080:8080 stalwartlabs/stalwart:v0.16Since I didn’t want Stalwart listening on port 80, I used Certbot and Let’s Encrypt for the TLS certificates, manually imported them into Stalwart, and restarted:
sudo certbot certonly --standalone -d mail.rtl-gps.online
sudo docker restart stalwart
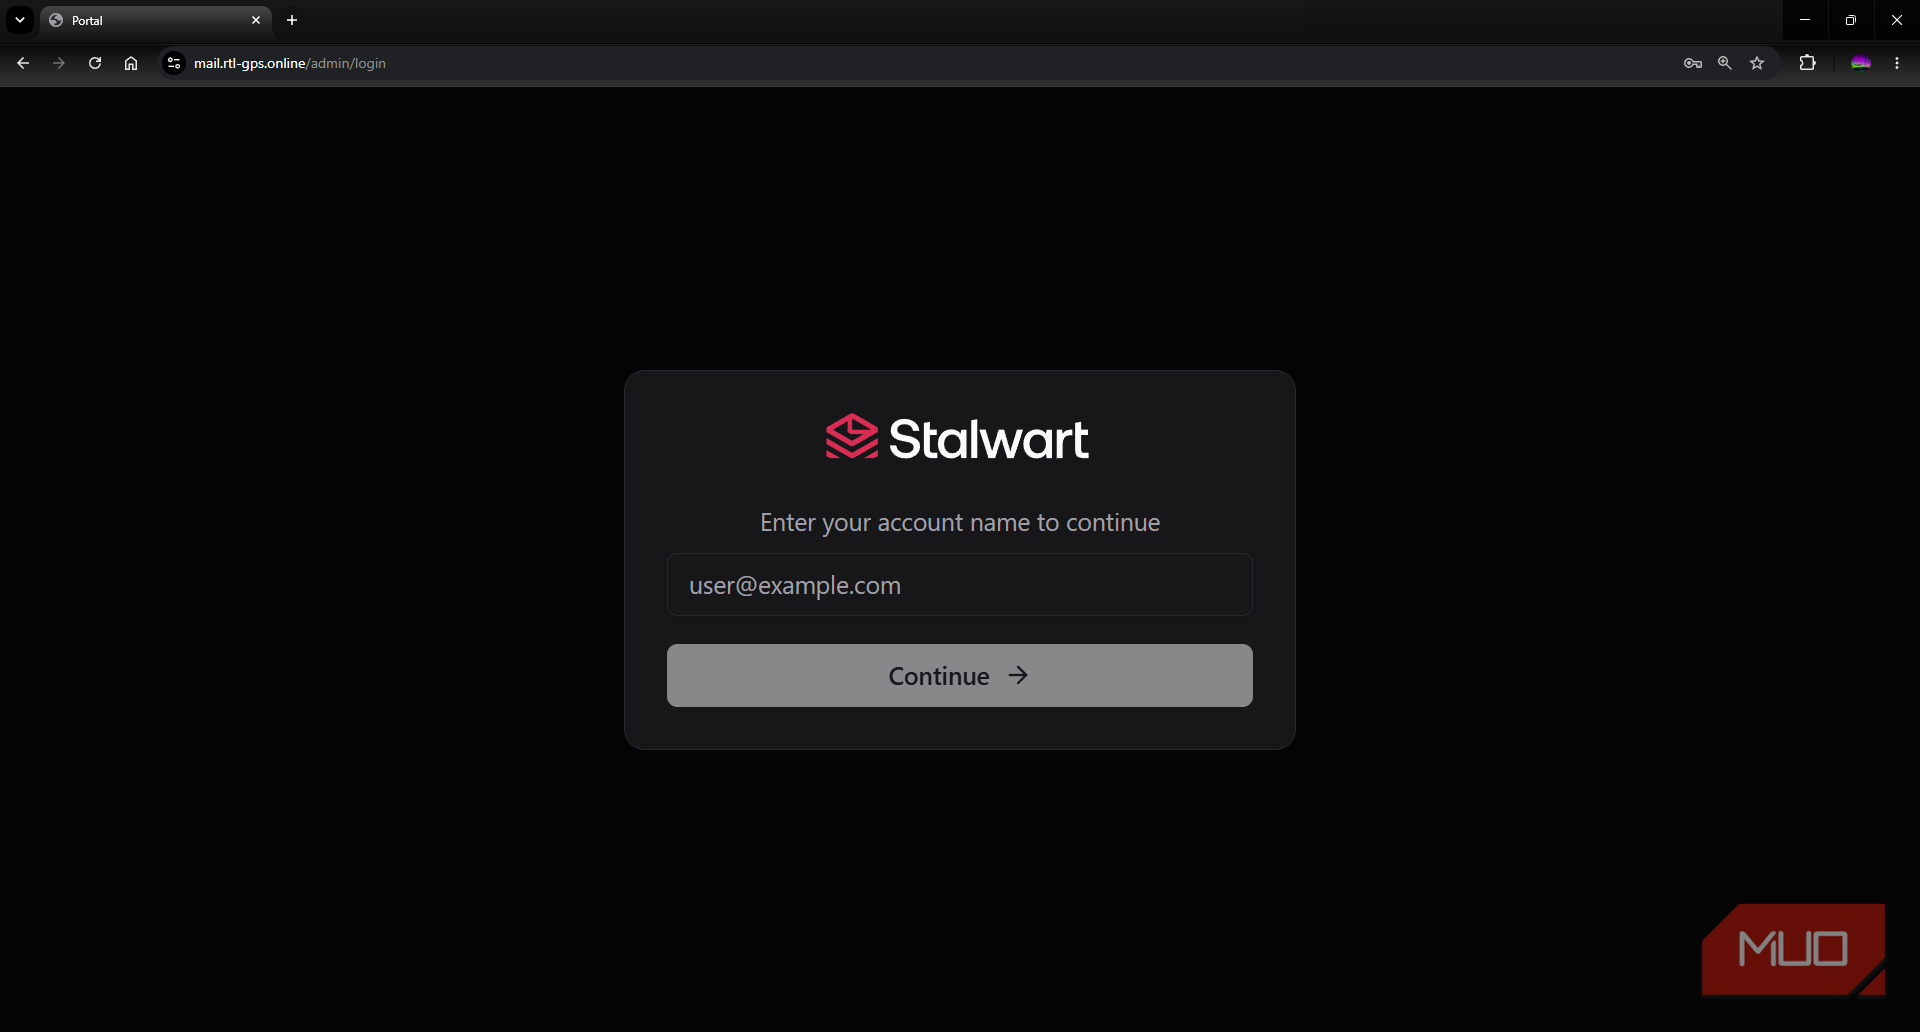
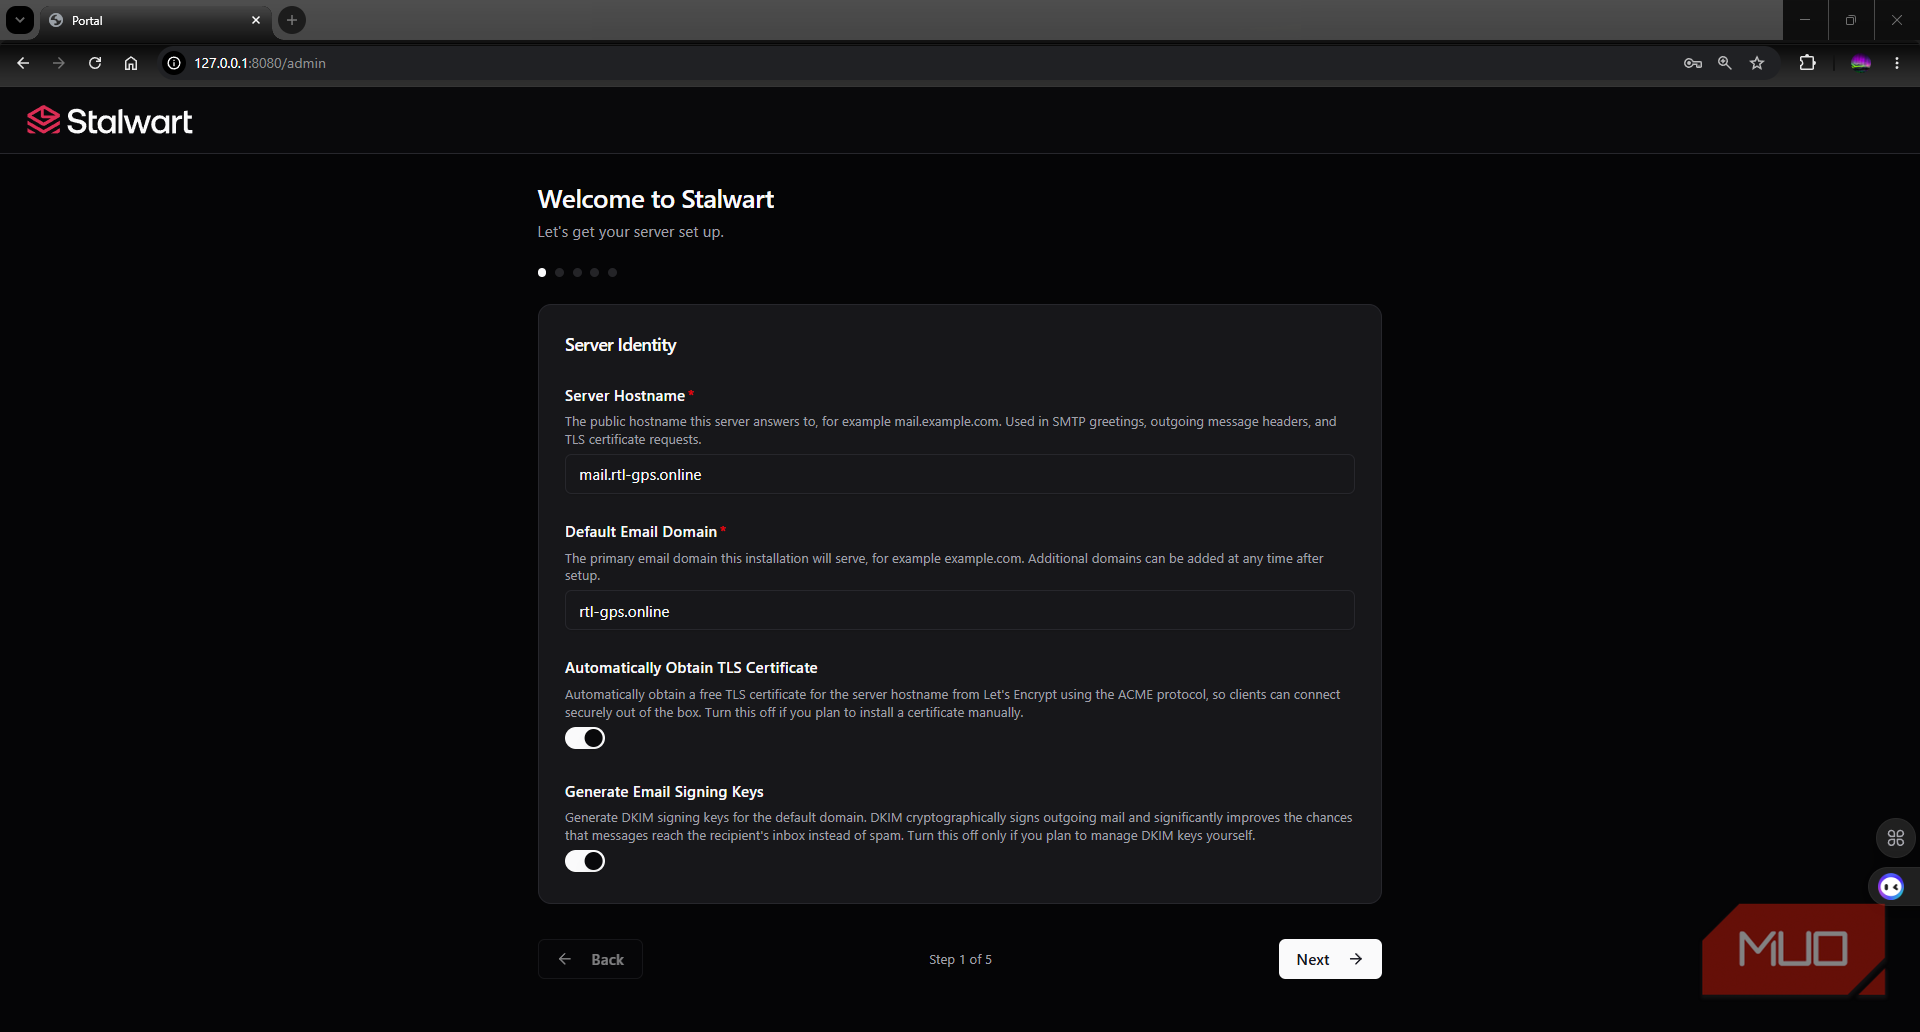
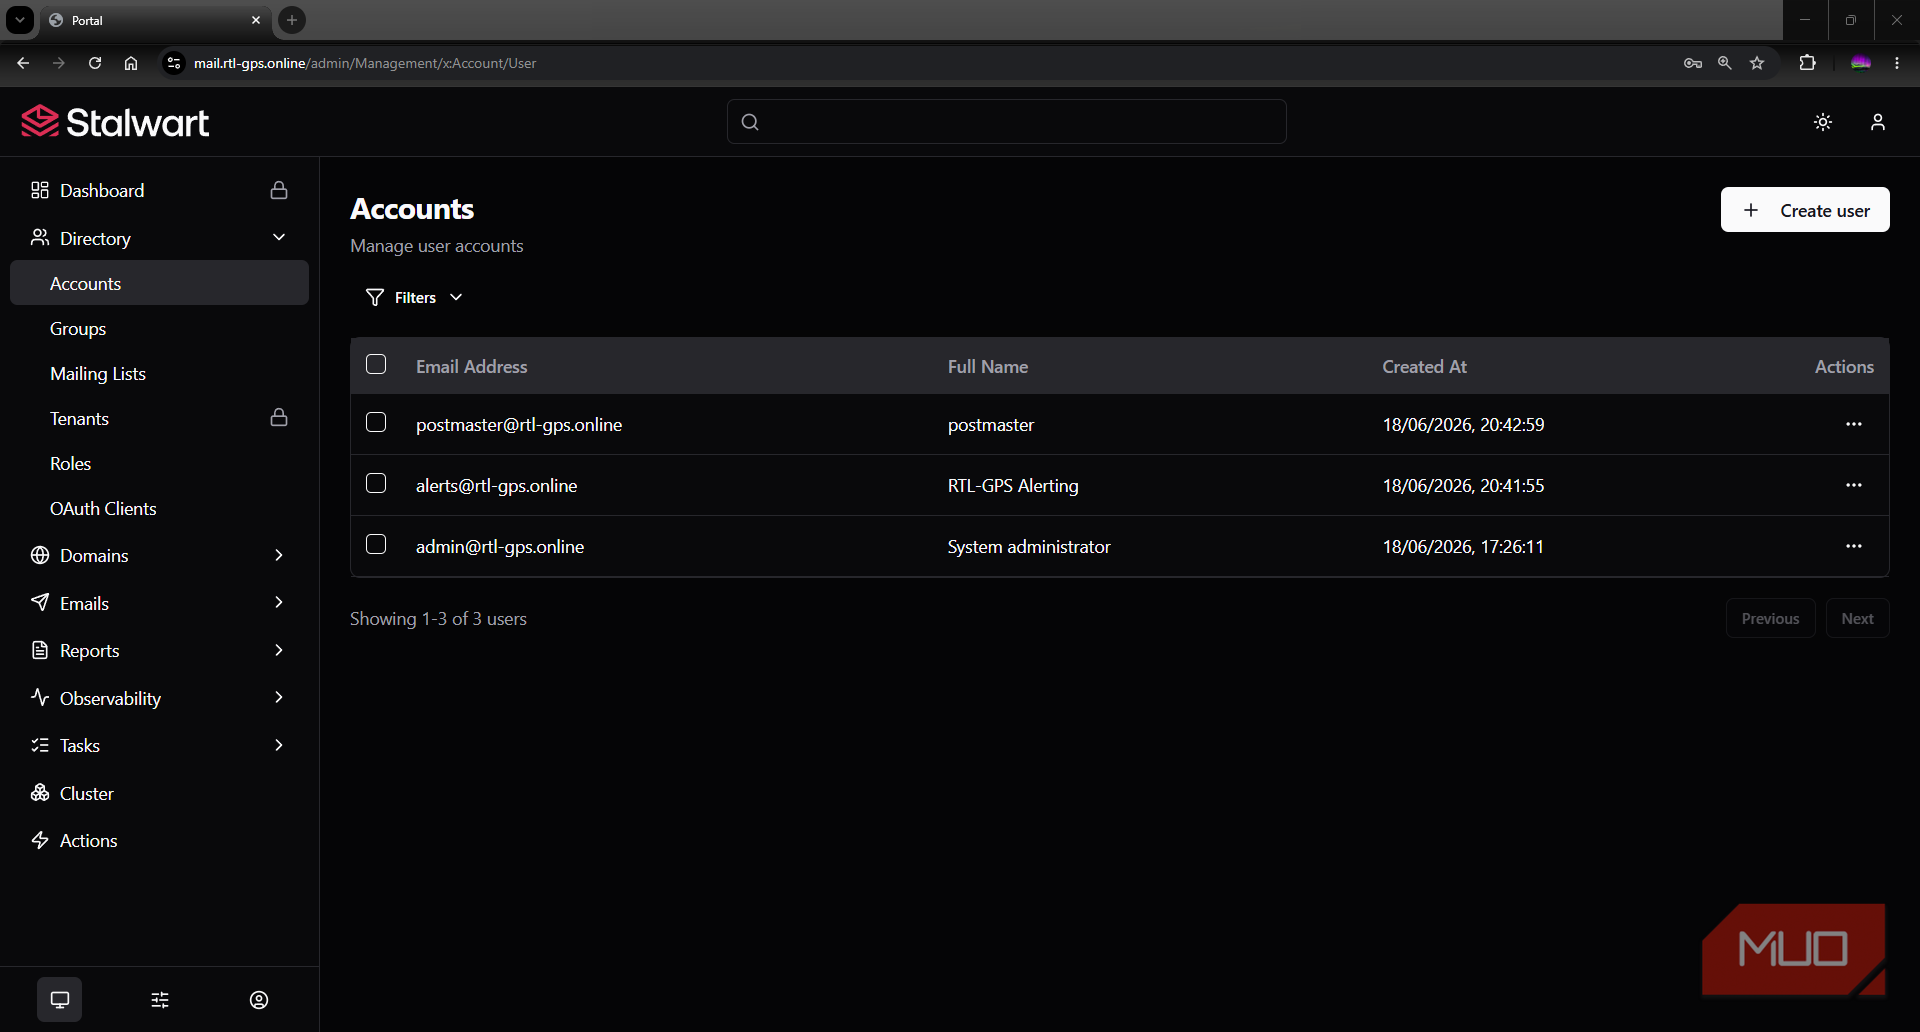
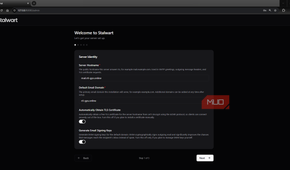
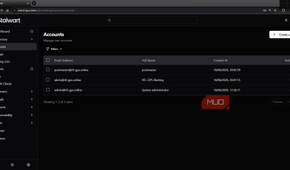
After that, I completed the bootstrapping and initial accounts setup through the web dashboard. The web admin panel loaded happily over HTTPS, and I created the first few mailboxes. For all intents and purposes, I had a fully working mail server. Unfortunately, that’s where the easy configuration ended, because mail servers still need the rest of the internet to trust them.

Stalwart
- OS
- Linux, macOS, Windows
- Publisher(s)
- Stalwarlabs
Stalwart is an open-source self-hosted mail and collaboration server that supports SMTP, IMAP, JMAP, calendars, contacts, and files.
DNS was what the mail server needed to start talking to the rest of the world
My inbox needed a pile of public records before it could be trusted

Getting Stalwart running was really only a local success. The next job was teaching the rest of the internet where it even was. That meant the configuration shifted over to Cloudflare DNS. I started with the easy records. The mail A record was easy and familiar, pointing to mail.rtl-gps.online. Then came the records that made the server usable and a little more trustworthy:
- The MX record told the mail servers where to send mail for rtl-gps.online.
- SPF indicated which server was allowed to send mail to the domain.
- DKIM allowed Stalwart to cryptographically sign any outgoing mail using RSA and Ed25519 keys it generated for me during setup.
- DMARC told the receiving servers how to judge SPF and DKIM checks.
I didn’t find any of this particularly difficult. It was just fiddly and involved a lot of double-checking. But I understood it was important to get it right, as I was essentially building a public identity that other mail systems inspect, score, reject, and potentially just shove into a spam folder.
I checked the one mistake I absolutely did not want to make
An open relay would have turned a hobby project into a problem of having to get a new IP address problem

Before I worried about whether Gmail would play nicely with my email server, I wanted to check something more basic but important. I needed to know I had not accidentally built an open email relay. This was the mistake I had made as a naïve teenager, and I had zero interest in recreating it on my new server.
I tested it with swaks, using a fake outside sender and a Gmail address as the recipient:
swaks --server mail.rtl-gps.online \
--from [email protected] \
--to [email protected] \
--quit-after RCPT
The server did what it was supposed to and accepted the sender's address. Then it did exactly what I hoped when the message tried to leave for Gmail:
550 5.1.2 Relay not allowedThat rejection is what I needed to see. A mail server should accept unauthenticated mail addressed to its own domain. That’s exactly how other people send me emails. What it shouldn’t do is accept mail from a random external sender and pass it along to another external domain.
If my mail server did this, it would be considered an open relay. It would mean my hobby project would become part of someone else’s spam operation and would inevitably get block-listed on anti-spam platforms like SORBS SMTP.
The Thunderbird email client is where the problems started
Even after the Stalwart was working, the mail client couldn’t find my mail server

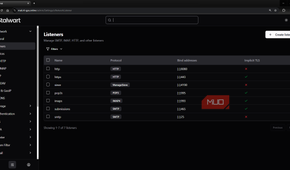
I confirmed IMAP was working on port 993 and SMTP on port 465 by configuring the listeners inside Stalwart and testing on the server:
openssl s_client -connect mail.rtl-gps.online:993 -servername mail.rtl-gps.online -crlf
openssl s_client -connect mail.rtl-gps.online:465 -servername mail.rtl-gps.online -crlf
The certificates were valid, the account could connect, and the mailboxes had been created. It should have been enough, but it wasn’t. Initially, my favorite mail client, Thunderbird, had discovered the mail server just fine, but I ran into problems when I sent a test email; it timed out. To diagnose the issue, I tested the ports from Windows to see if they were open:
Test-NetConnection mail.rtl-gps.online -Port 993
Test-NetConnection mail.rtl-gps.online -Port 465
Both ports were open, so it didn't make sense that I couldn’t send the test email. Then I remembered that Thunderbird, for some reason, tends to ignore the initial manual port setup and hides an additional SMTP setting buried in its menu.
The Outgoing Server (SMTP) section under Account settings needed to have its port changed from the STARTTLS 587 port back to the TLS/SSL 465 port. Once that setting was changed, I sent off my first test email to both my custom email address and my Gmail account, and both arrived without hitting the spam folder. Success! At least until it came to receiving mail.
Port 25 is what killed the project
The server was listening, but the outside world was cut off due to one issue out of my control

After successfully sending an email with Thunderbird through my new mail server, I was hopeful that the second half of the operation would also be successful: receiving mail.
Unfortunately, nothing arrived.
The debugging process for this issue was utterly maddening because everything on the server side looked correct. Docker was publishing SMTP on port 25:
sudo docker ps --format "table {{.Names}}\t{{.Ports}}"The ports were also open in the firewall, and Stalwart was also happily answering locally:
nc -vz 127.0.0.1 25
I double-checked the DNS records, and these were also fine. Locally, the mail server was absolutely working as intended. From the perspective of the outside world, however, port 25 was failing:
Test-NetConnection mail.rtl-gps.online -Port 25
WARNING: TCP connect to (mail.rtl-gps.online : 25) failed
This, unfortunately, was the wall I hit that couldn’t be surmounted. My ISP, despite promising they wouldn’t, was blocking port 25. After creating some help desk tickets requesting the port be opened to my static home IP, I was told it wouldn’t be unblocked due to their security policy.
In the end, I had built a mail server that could send email but never receive it. Fantastic.
I understand the warnings now
Self-hosted email is possible, but there are smarter alternatives

I didn’t come away thinking that self-hosted email is some impossible task. I merely needed to move the setup onto another server with a provider that would allow traffic through port 25. But that’s also where I needed to face reality.
Moving to another provider means renting a VPS, which adds more effort in the form of DIY tax and costs real money, too. It’s easier and better for my blood pressure to just use a dedicated paid mail service like Purely Mail and connect my domain to it.
The problem with self-hosted email isn’t that the software can’t run. The problem is that a working mail server is just one link in a chain of trust that you have little to no control over. I didn’t fail to start a mail server; rather, I just failed to get the rest of the internet to recognize it as one.