


I work across multiple computers, and at least two at any given time. Recently, as I started to use more and more voice dictation to write on any app that supports it, I needed a way to use my HyperX mic across both computers without manually plugging the cable each time I wanted to switch.
A USB switch is the recommended solution, where you can share a USB device with the flip of a switch. But what if software could do the same thing? VirtualHere is a utility that lets you use USB devices over a network as if they were locally connected. I've been using the app for over a week now, and I don't have any plans to buy a USB switch anytime soon.
What's VirtualHere?
A USB over IP tool that shares your devices over the network

VirtualHere is a USB over IP tool that lets you share your USB devices across a network. My HyperX mic stays plugged into my primary PC, and VirtualHere creates what is essentially a virtual USB cable that my secondary machine can use over the network. The software handles everything in the background, and the remote device shows up in Windows just like it would if you had physically plugged it in.
It's a paid tool, but you can use it for free as long as you are only sharing one device. Since I only needed a way to share my mic, one device is all I needed. I set it up on my Windows PC, but you can install VirtualHere on macOS, Linux, and even a Raspberry Pi if you want a dedicated USB sharing server.
Configuring VirtualHere on Windows
Install a server on one PC and a client on the other


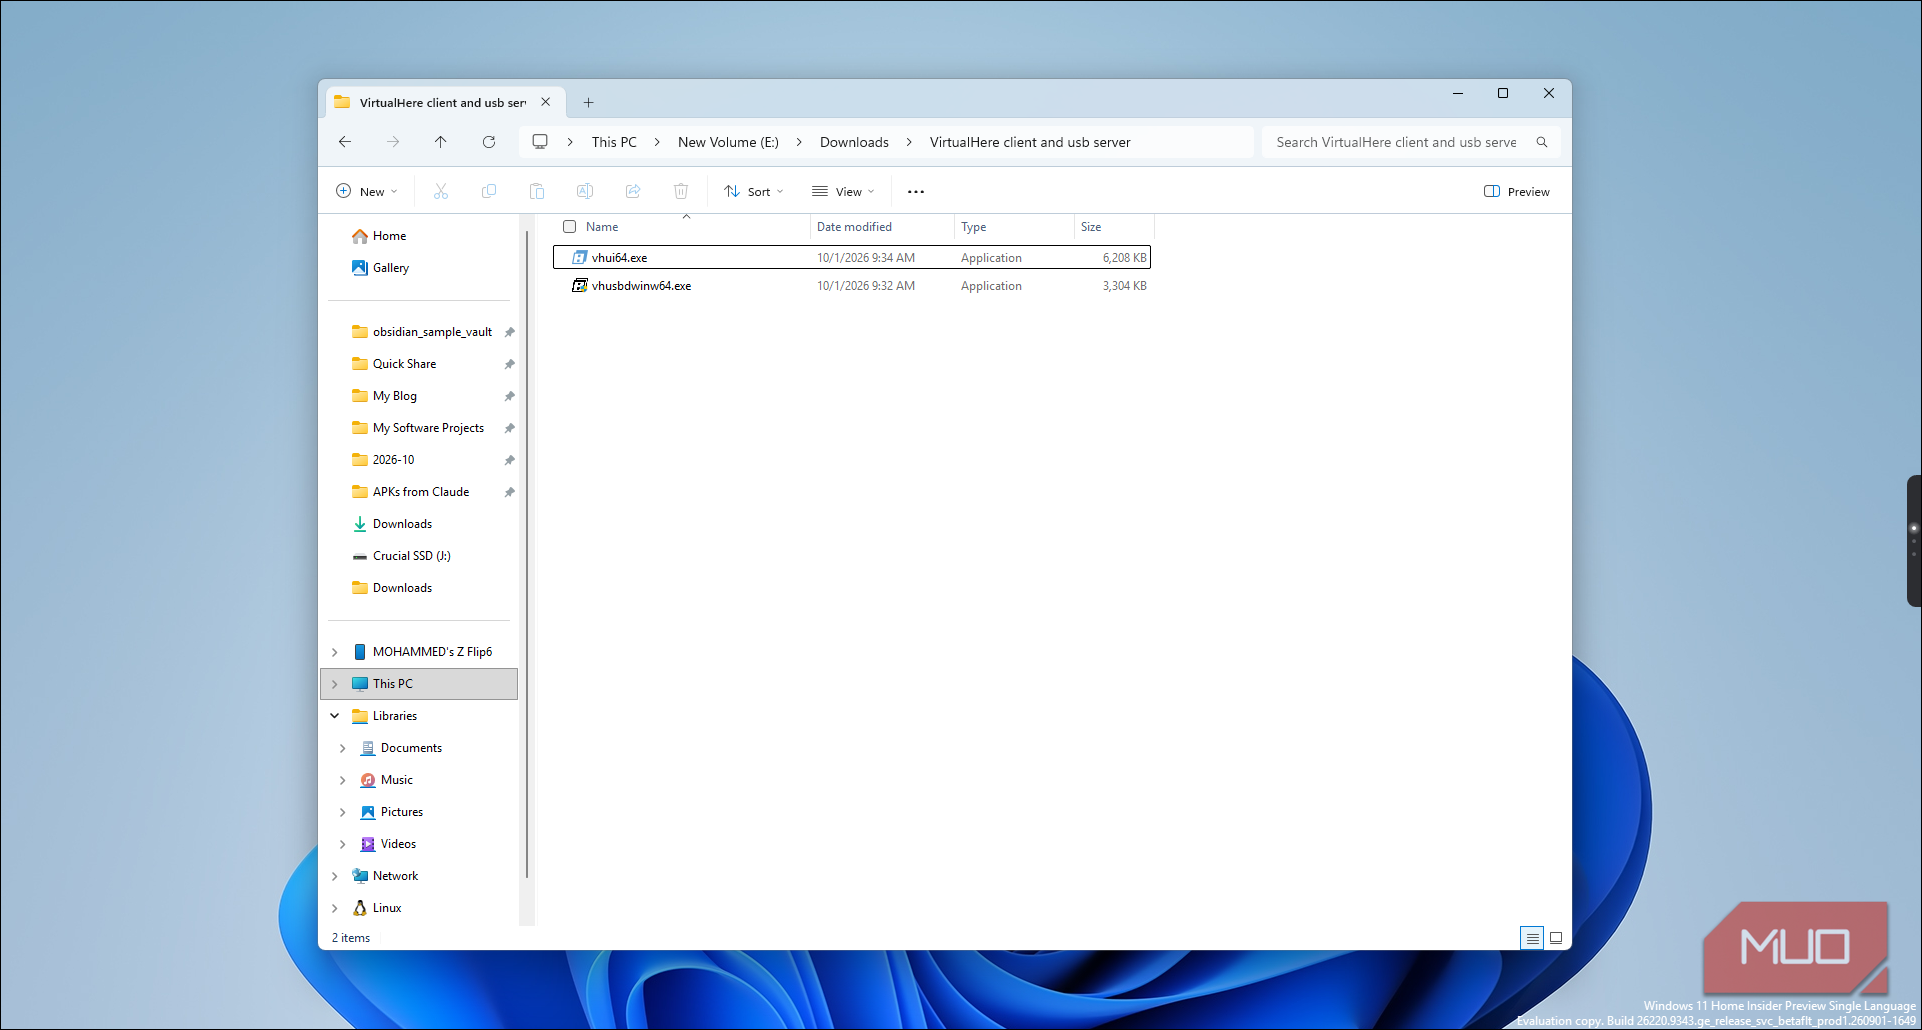
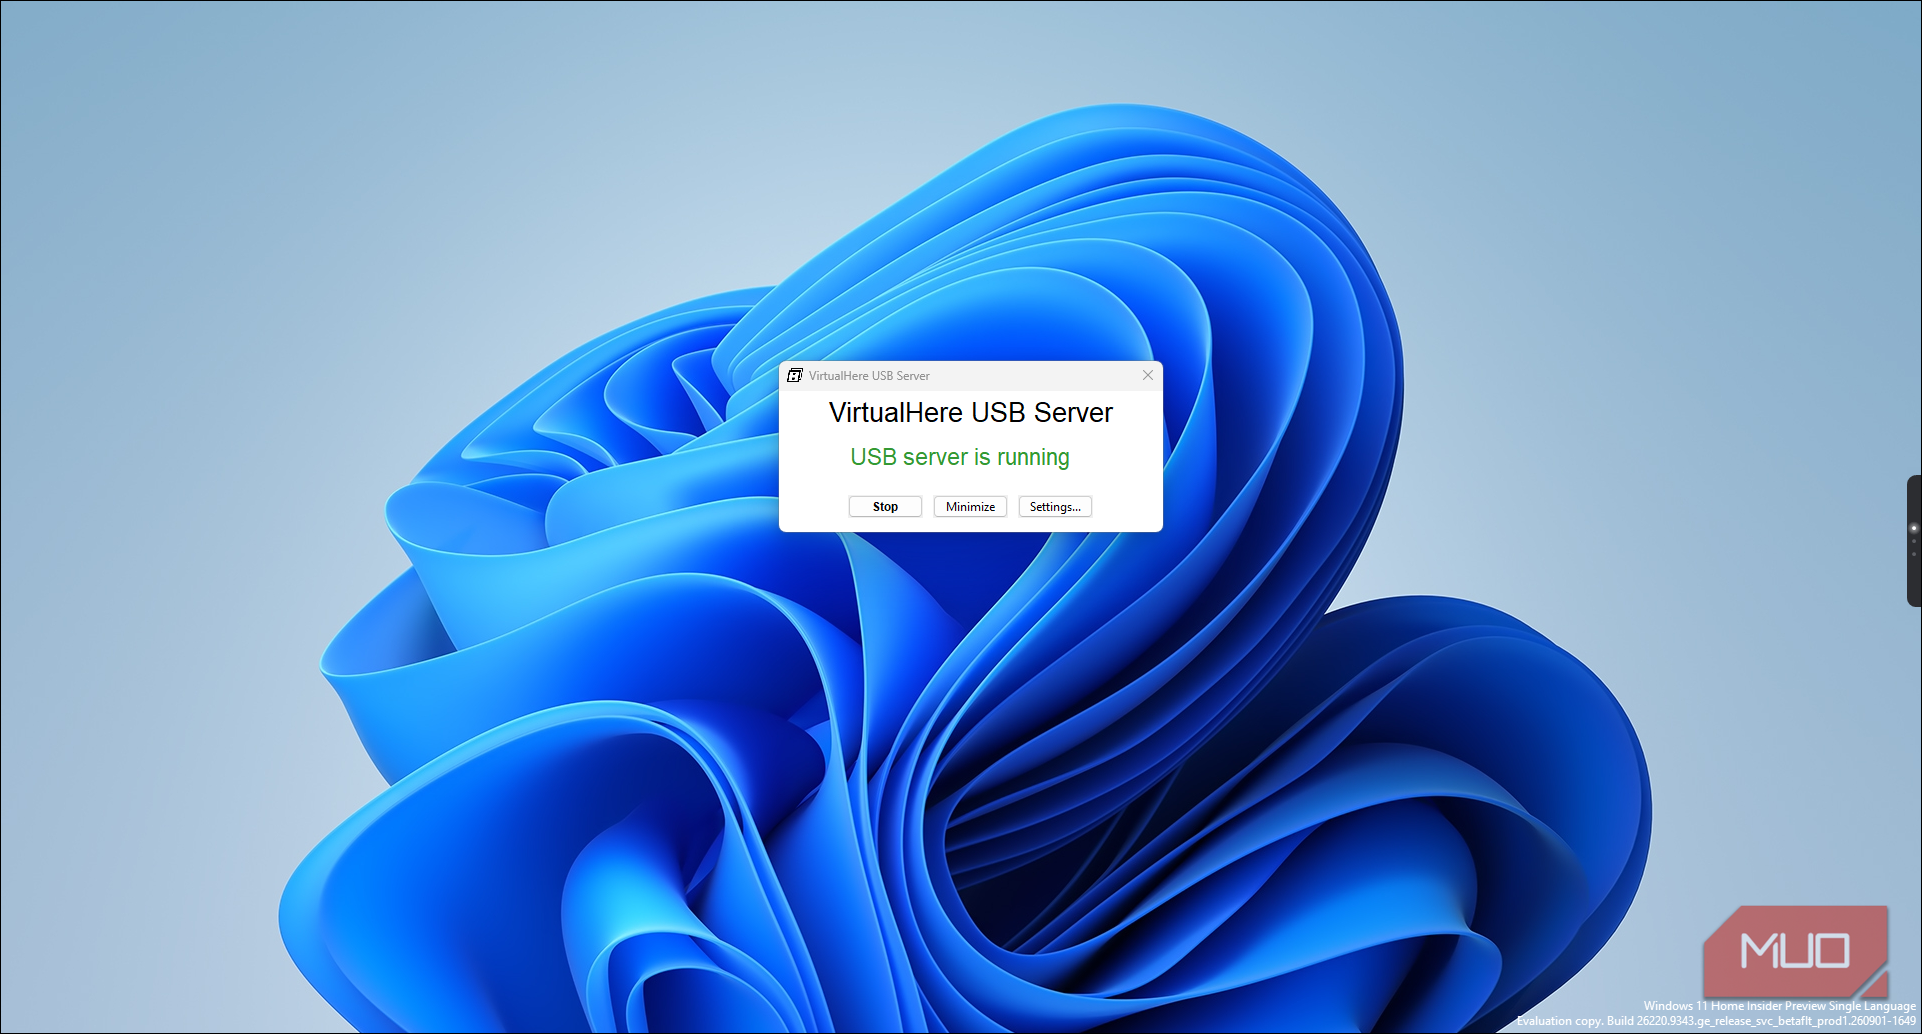
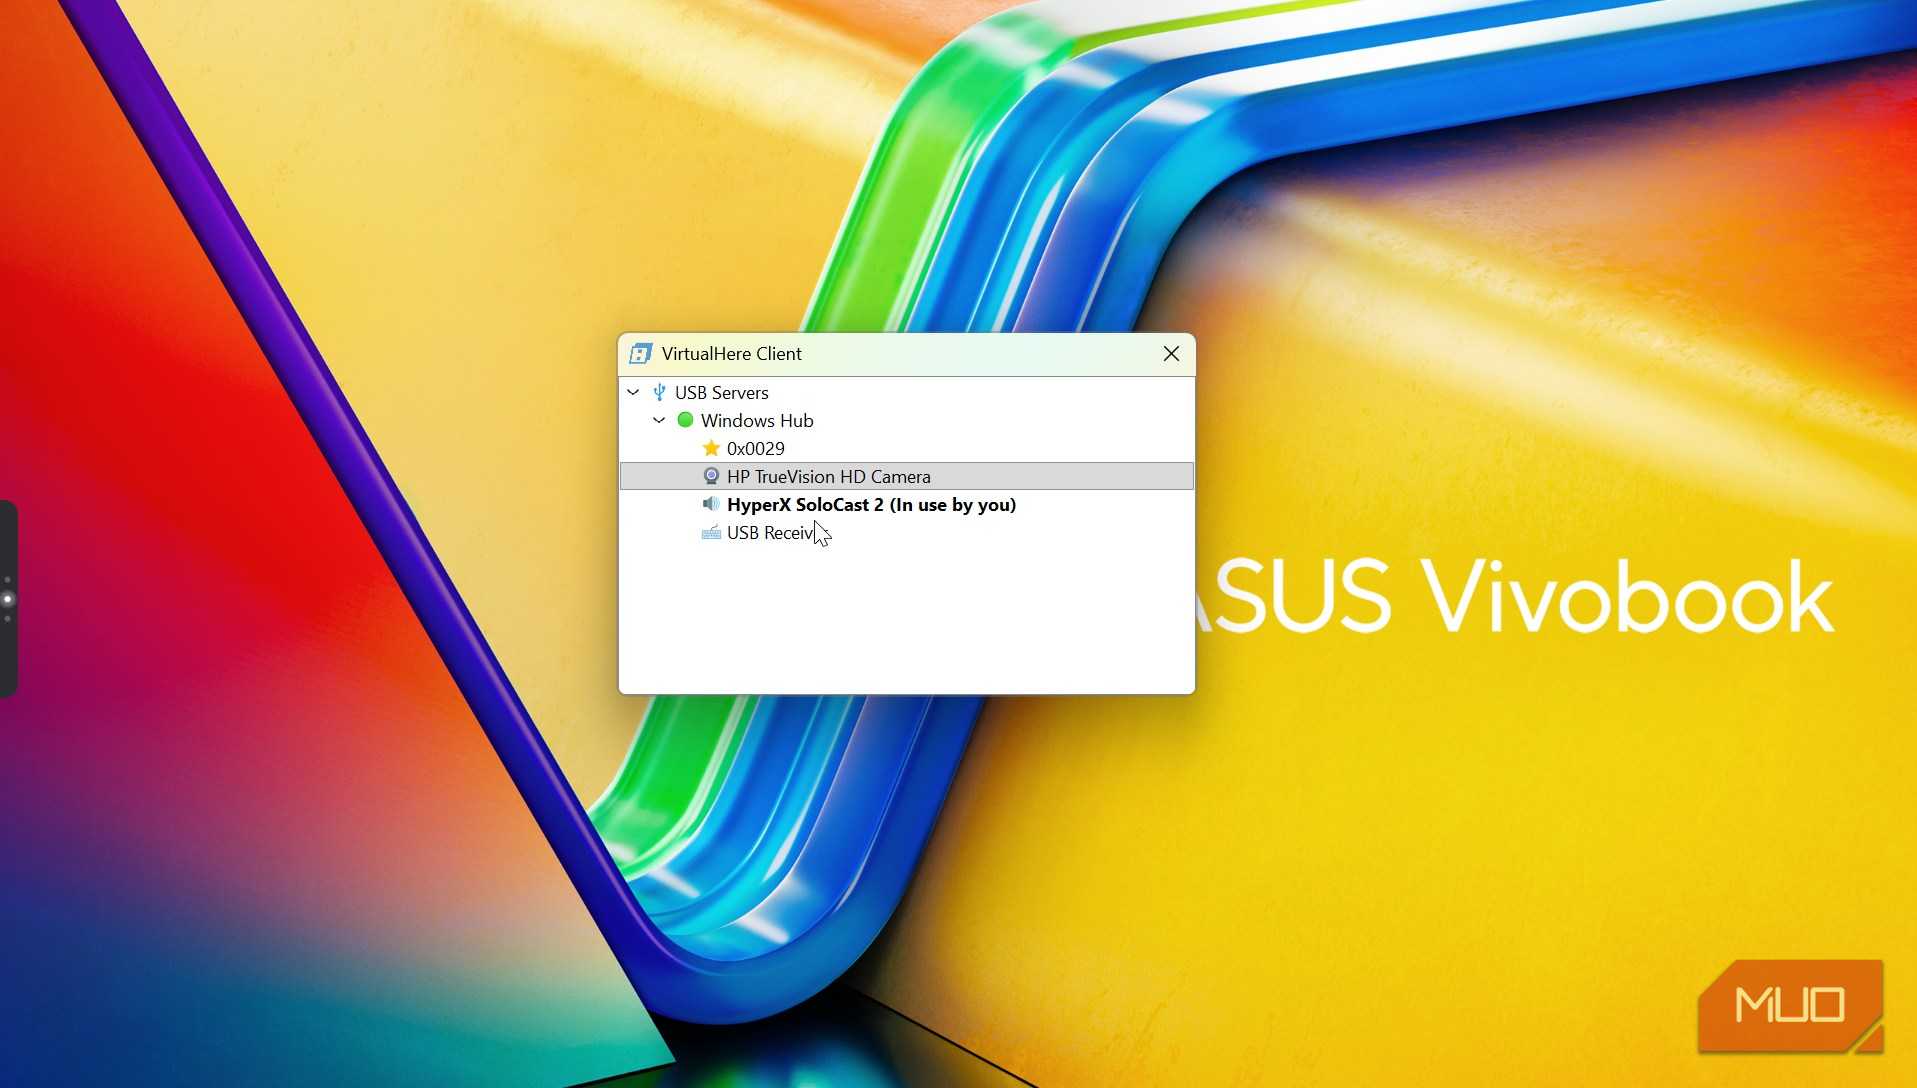
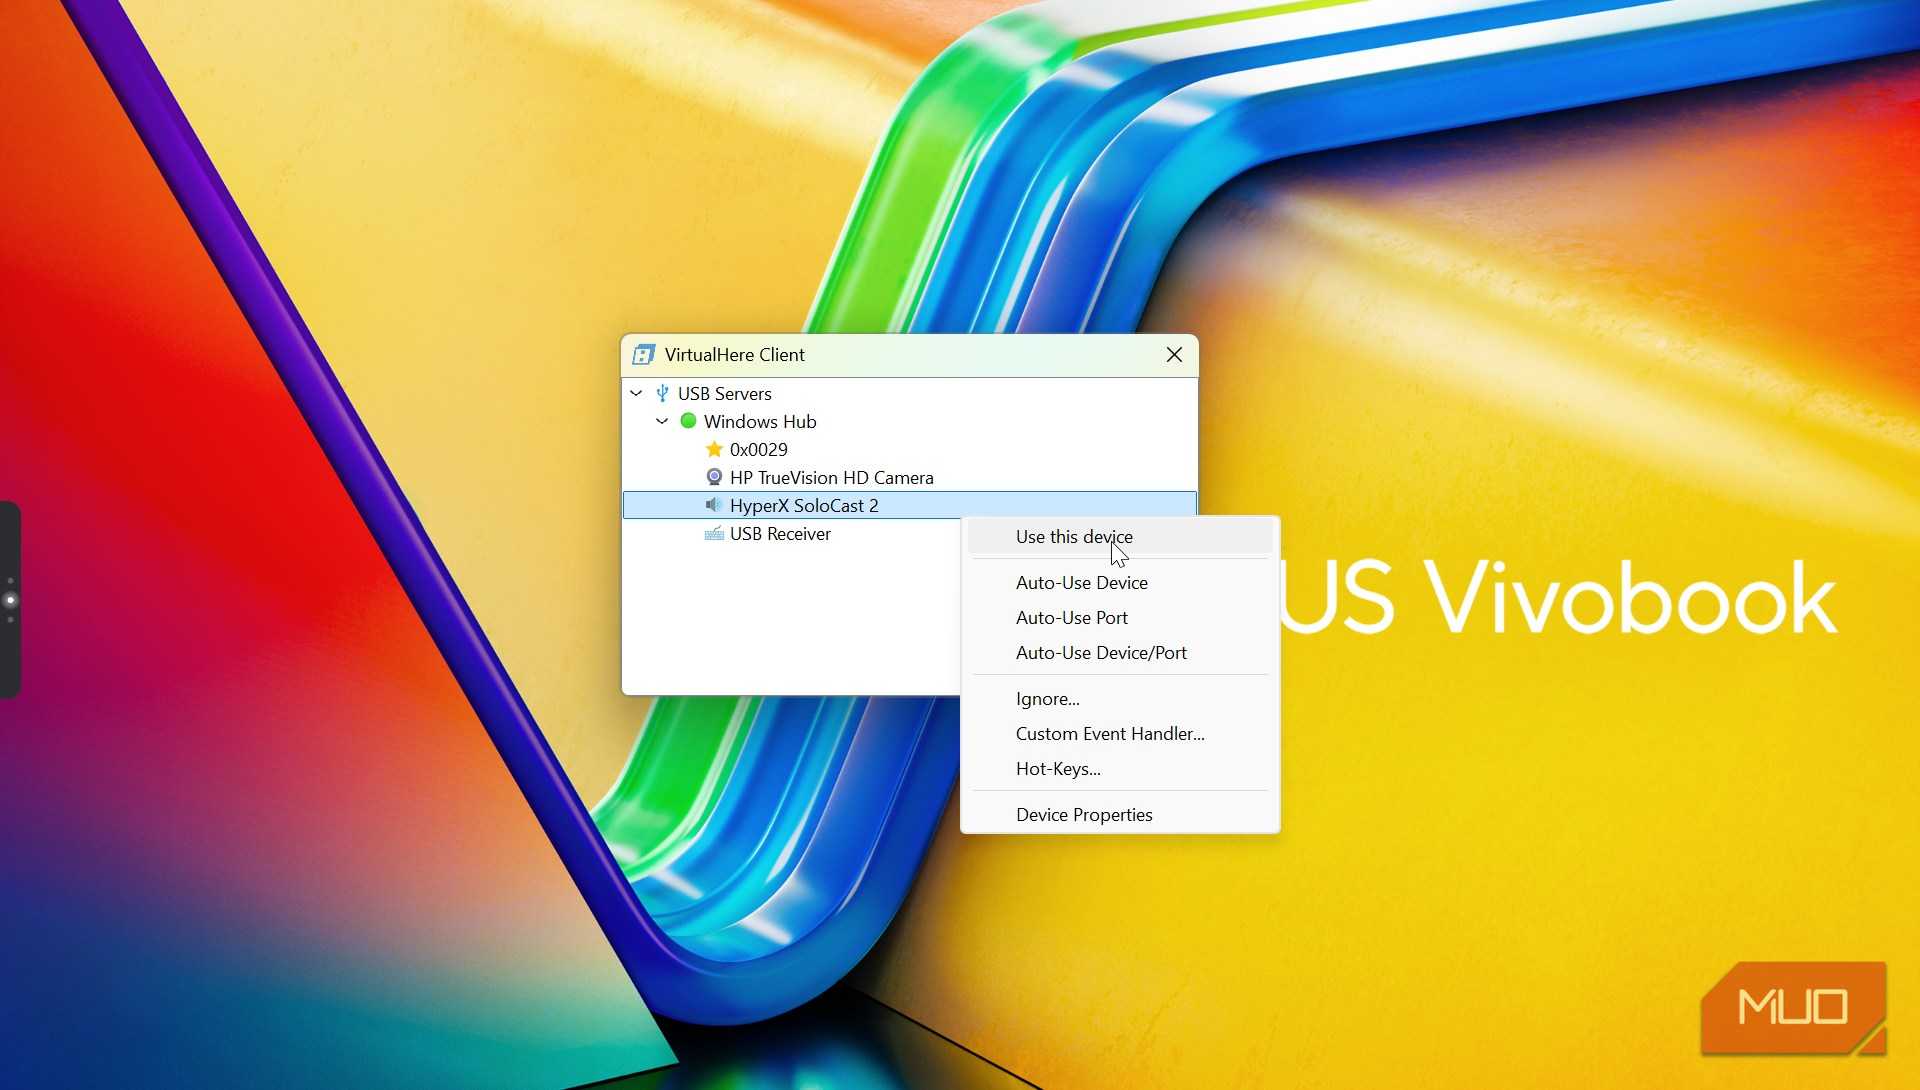
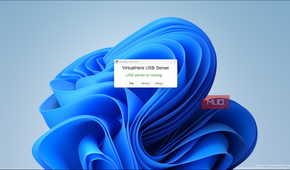
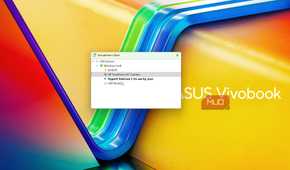
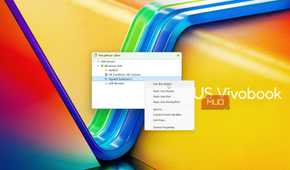
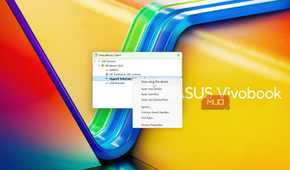
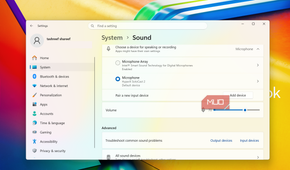
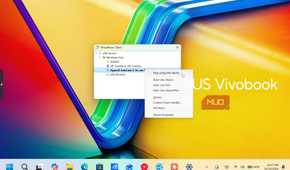
Getting VirtualHere to work involves two parts. First is the VirtualHere USB Server that you install on your primary PC, the one your USB device is physically connected to. Then, you install the USB Client on the secondary PC where you want to use the device over the network.
To get started, head to virtualhere.com and download the USB Server for Windows (vhusbdwin64.exe), and then download the USB Client for Windows (vhui64.exe) on your secondary PC. Neither of these needs a full install. They work like portable apps with standalone executables, which I prefer for single-purpose utilities like this.
On the PC where the mic is plugged in, run vhusbdwin64.exe and allow it through Windows Firewall when prompted. It listens on port 7575 by default. Once you see the USB Server is running, switch to your secondary PC and run the VirtualHere USB Client (vhui64.exe). The client will find the server automatically as long as both machines are connected to the same network and then display all the USB devices connected to your primary PC.
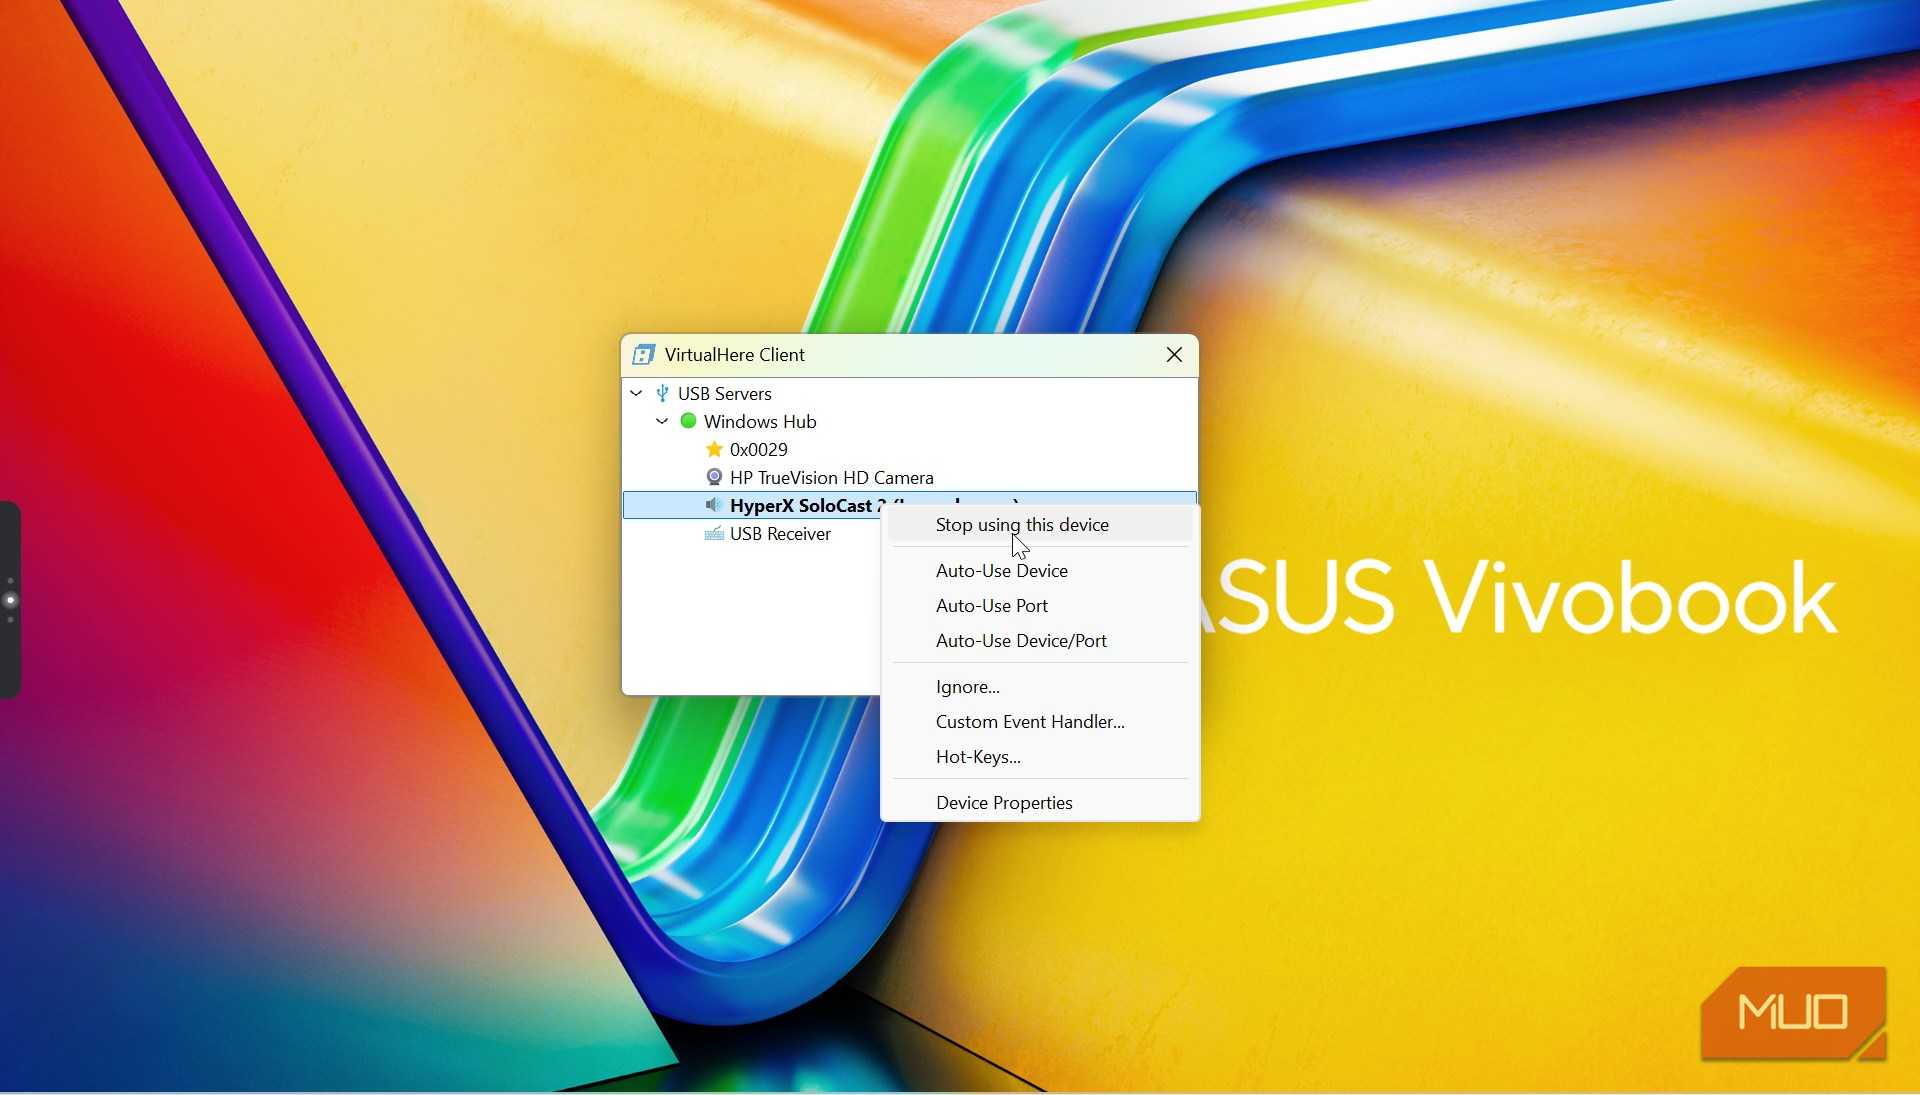
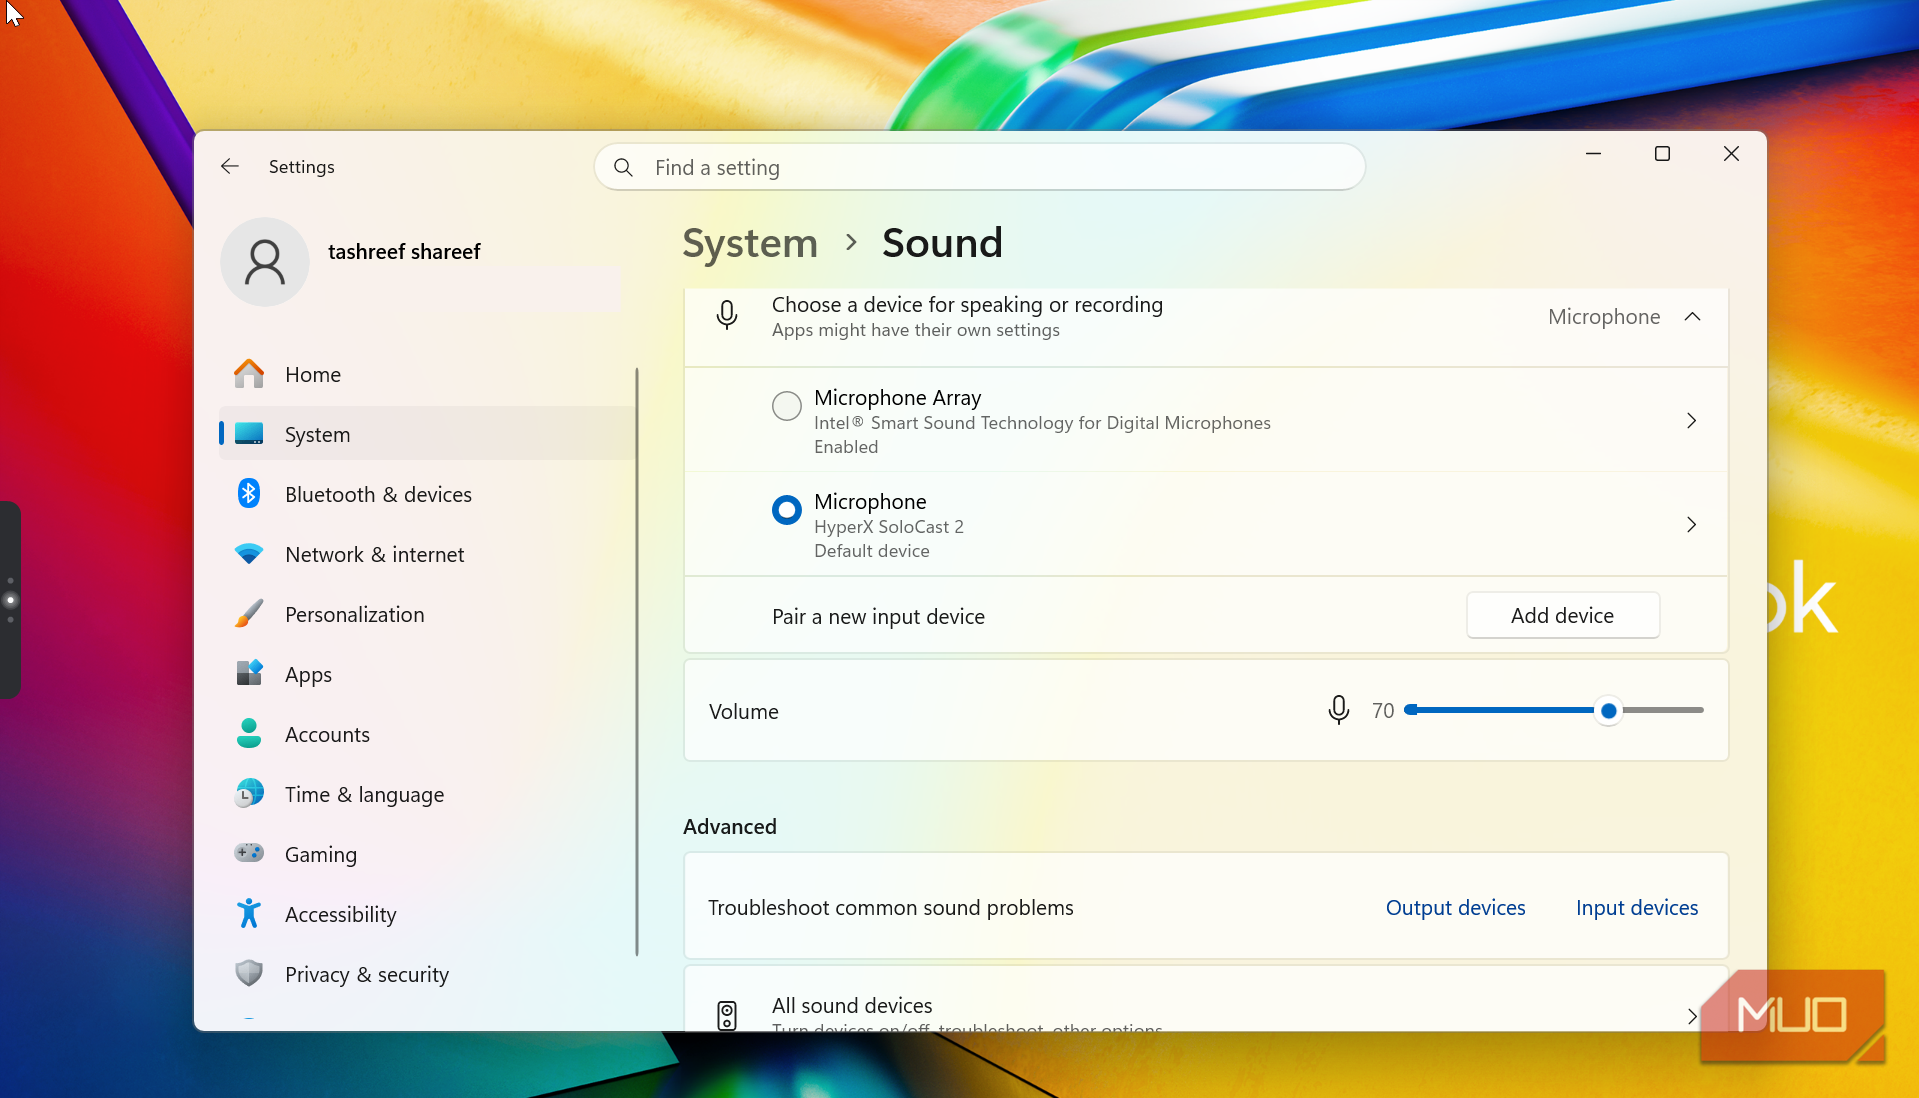
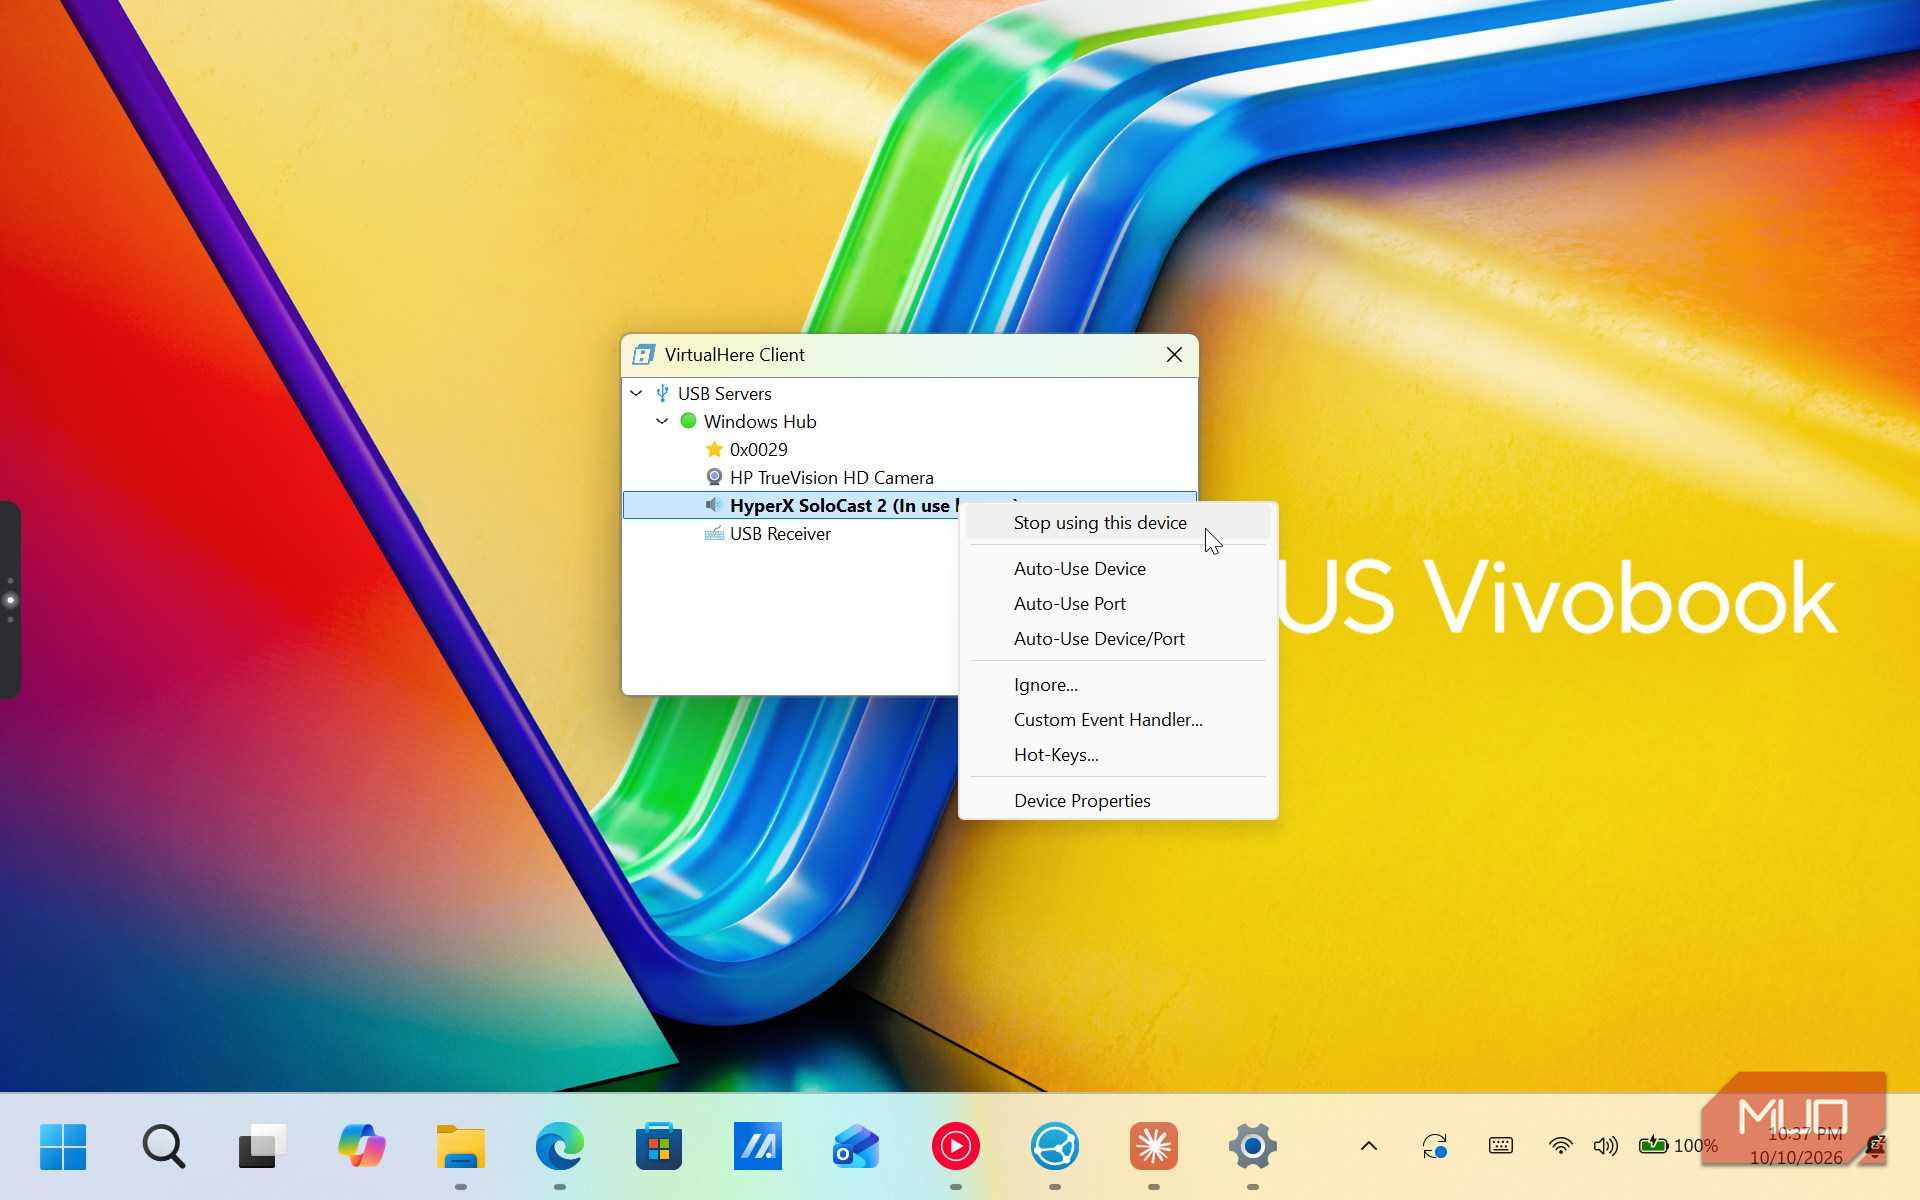
In my case, HyperX SoloCast 2 showed up listed among the other devices. Right-click on the device listing and choose Use this device. The device will now be available to use on your secondary PC as though it were physically plugged in. When you are done, right-click again and choose Stop using this device to return it to the primary PC.
If auto-discovery doesn't work, right-click USB Hubs in the client, choose Specify Hubs, click Add, and enter the primary PC's IP address followed by :7575 (for example, 192.168.1.10:7575). A static IP or DHCP reservation for the primary PC keeps this address from changing later.
Quirks of VirtualHere
Not perfect, but good enough for most use cases

VirtualHere is not perfect, and that is true for any solution that tries to fix a hardware problem with software.
First is the Android app. While you can technically use VirtualHere on your Android phone as a USB server, the free version only lets you use it seven times as a trial before you need a license. Also, the license is tied to your specific device. If you change your phone or tablet down the line, you would need to buy the license again. This probably applies to all devices, as the licenses are hardware-bound and can't be transferred.
Second, audio might be VirtualHere's weakest area. Microphones use isochronous USB transfers, a type of data transfer that is very sensitive to network delay. If packets arrive late, audio stops or skips. For voice dictation, which is my primary use, it has been reliable enough. But I probably wouldn't depend on it for live calls, meetings, or voice recording where even small glitches would be noticeable. If you must use it for those tasks, a wired Ethernet connection between the two machines will help reduce latency.
Finally, the pricing. VirtualHere costs $49 for a one-time license, which removes all trial restrictions and lets you share unlimited devices from one server. If you only need to share one device, the free version works indefinitely on Windows, macOS, and Linux without any time limit. But if you need it for more than one USB device, you would want to compare that $49 against a physical USB switch, which you can get for $15 to $25, to see which offers more value for your setup. Personally, I only needed it for voice dictation across my devices, so the free version serves my needs well.
VirtualHere shares your USB devices across your computers
VirtualHere has saved me from buying a USB switch, at least for the time being. My secondary laptop does have a built-in mic, but I would have to sit uncomfortably close to it for it to pick up my dictation clearly. A USB-connected microphone gives me the flexibility to dictate from a comfortable distance with much better audio quality.
Also, VirtualHere is not limited to microphones. It works with just about any USB-connected device, including keyboards, webcams, printers, scanners, and external storage devices. As long as you keep the network speed limitation in mind and stick to a reliable connection, it should work without any issues for most devices.